Helpful Tools:
The Gen 3 router is compatible with the Router Mini, Starlink Standard, Starlink Mini, Starlink Standard Actuated, Starlink Performance (Gen 1), and the Starlink Standard Circular.
Gen 3 Router Specifications:
- IEEE 802.11a/b/g/n/ac/ax standards
- Tri-band 2.4GHz and 5GHz
- 4x4, MU-MIMO, OFDMA
- WPA2 security
- Operating Temperature: -22°F to +122°F (-30°C to +50°C)
- IP56 rated (water resistant)
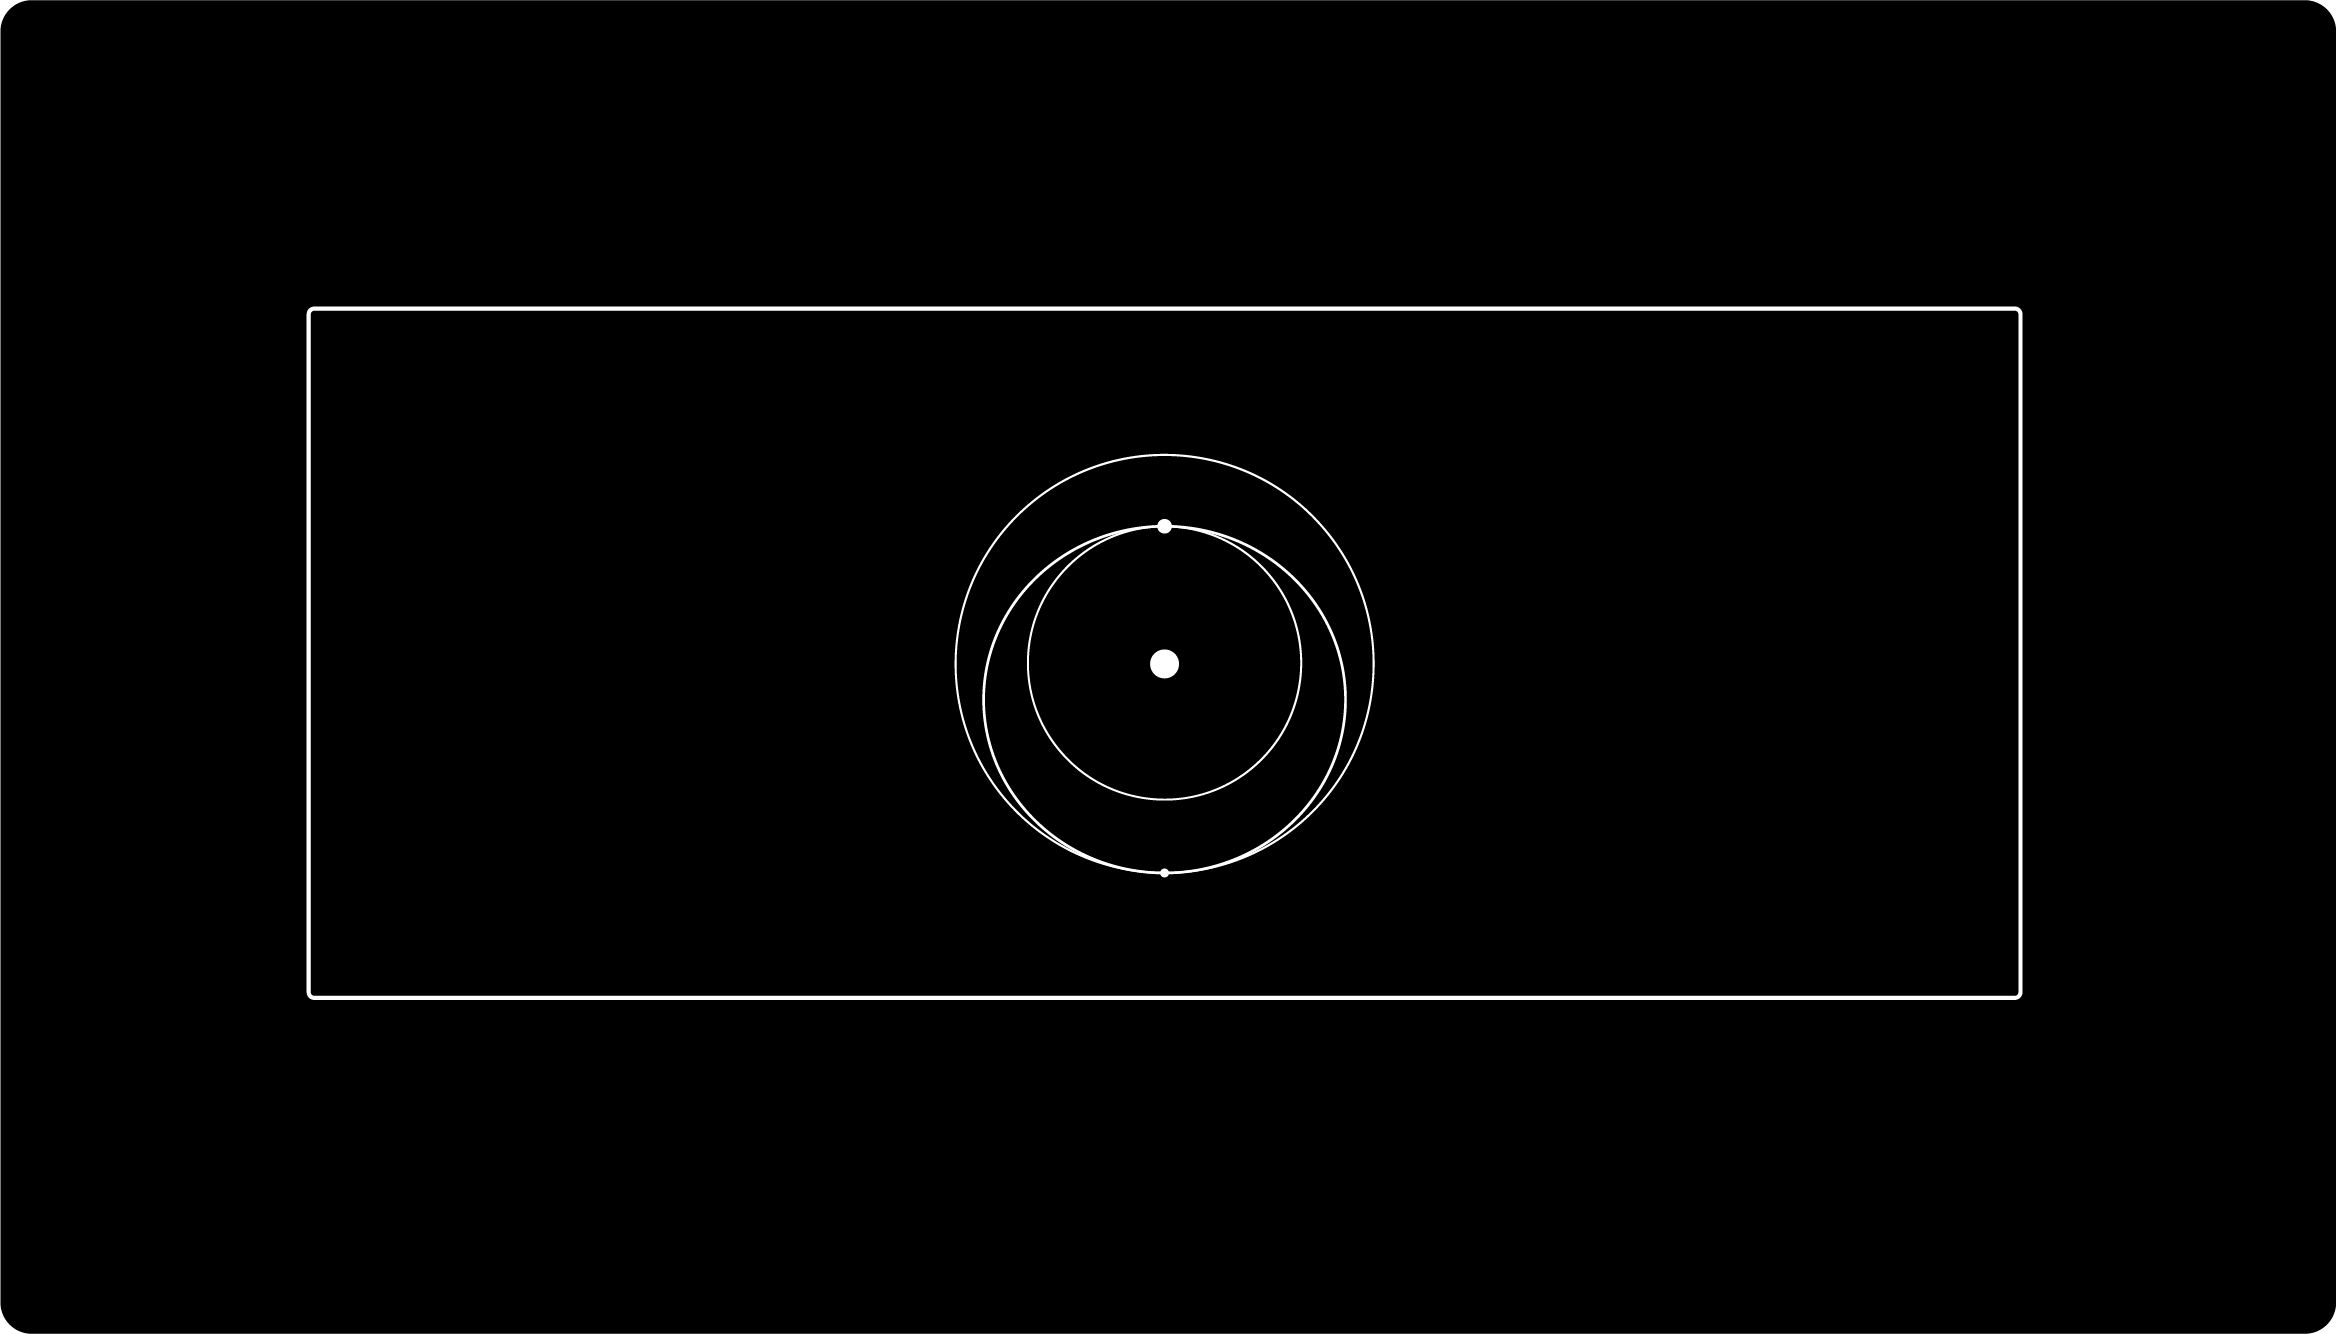
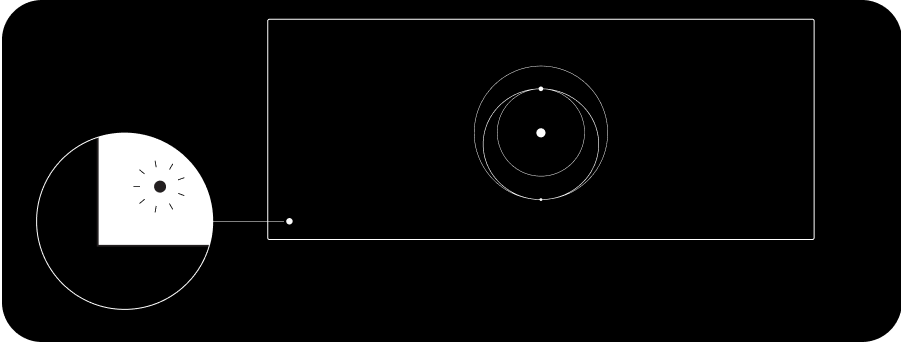
The light on your router is the status:
- Flashing White Light: Trying to connect. If the router cannot get a connection to the internet in 20 minutes, the light will turn red.
- Solid White Light: Connected to internet. Will turn off after 1 hour.
- No Light: No power to router.
- Red Light: Not connected to the internet.
- Violet Light: Router is in bypass mode. Will turn off after 1 hour. Factory reset required to exit bypass mode.

Getting Connected: If you're using the Gen 3 router with the Starlink Standard Kit, follow the steps below:
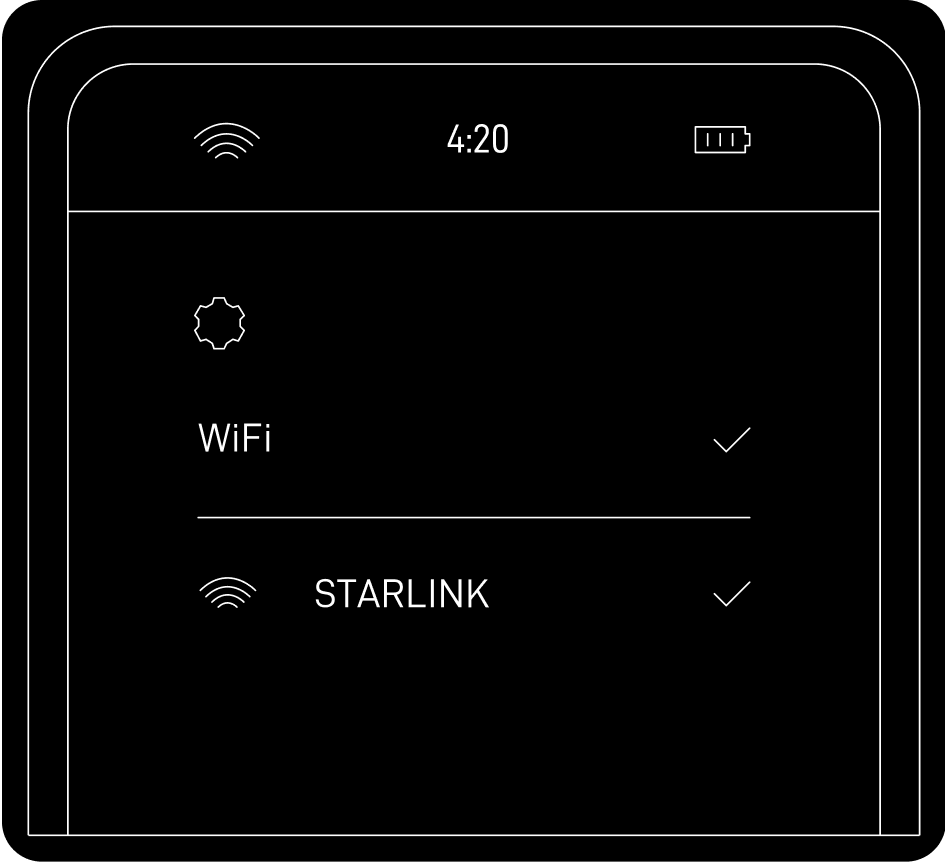
Connect to the STARLINK network from your device WiFi settings.
- 'STARLINK' is the router's default WiFi network name (SSID).
To secure your Starlink WiFi network, use the Starlink App to rename your Starlink WiFi network and create a WiFi password. Open the Starlink App > Settings > Router > enter desired WiFi network name and password > Save.
- This step is optional, however we recommend securing your WiFi network. Your Starlink WiFi network is not password protected until you set the password.

- You are now connected! To customize additional settings, check your connection, and more, visit the Starlink App.
Using the Extra RJ45 Ports (Gen 3 Router):
- Remove the RJ45 cover on the back of the router.
- Plug in your own ethernet cable to port 1 or 2. Then connect the other end of your cable into your third-party hardware.
To connect a Gen 3 router with a Gen 2 router as a mesh node:
- Confirm internet connection: Make sure your Starlink system is already set up and online. Connect your device to your existing Starlink WiFi before starting.
- Choose a location: Place your Gen 3 router in the same room as your Gen 2 router for the easiest setup. For long-term use, pick a spot where the Gen 3 router has a clear line of sight to the Gen 2 router.
- Power on the Gen 3 router: Plug the Gen 3 router into a power outlet using the included power cable and supply.
- Pair the routers: Open the Starlink app. Within 1–2 minutes, you’ll see a notification: “PAIR NEW MESH NODE.” Tap PAIR.
- Verify connection: The Gen 3 router will appear on the Network screen in the app within about 1–2 minutes. When connected, the light on the router will turn solid white.
To set up your Gen 3 router as the main router with your Gen 2 router:
- Disconnect the Gen 2 router: Unplug the Starlink cable from the Gen 2 router.
- Set up the Ethernet adapter: Plug the Starlink cable into the Starlink Ethernet Adapter.
- Reconnect the Gen 2 router: Connect the Ethernet Adapter to the Gen 2 router.
- Connect the Gen 3 router: Using the provided cable, connect the Gen 3 router to the Ethernet Adapter. Ensure the cable is firmly plugged in on both ends.
- Power both routers: Plug in the power cables for both the Gen 2 and Gen 3 routers.
- Enable bypass mode: In the Starlink app, turn on Bypass Mode for the Gen 2 router. This allows the Gen 3 router to act as your new main router.
Cables
- You can use a standard RJ45 cable instead of the Starlink RJ45 cable, but we recommend the Starlink cable for proper sealing.
- To remove a Starlink RJ45 cable, simply pull firmly. The latch is passive and does not require pressing.
- If you use a standard RJ45 cable and cannot pull it out, press the tab gently with a small screwdriver (or similar tool) to release it.
Mounting
Power Supply
- When used with the Advanced Power Supply, the Gen 3 Router can receive power over the included Ethernet cable via the WAN port.
Get Starlink email updates here.
Recommended Topics:
Starlink Standard Actuated Kit - Setup Guide
Starlink Standard Kit - Setup Guide
Starlink Performance (Gen 1) Kit - Setup Guide
What is Bypass mode?
How do I set up Starlink Mesh?
I cannot get online during initial setup.


