If you're having issues with your WiFi connection, go through the troubleshooting steps below to help root cause.
Note: Using Starlink Mini as your primary home WiFi may result in slower speeds or limited coverage, as it is designed for compact areas. place Mini centrally in your home, avoid barriers like metal or concrete walls, and consider splitting 2.4 GHz and 5 GHz bands for device compatibility. For larger homes or multi-story setups, we recommend adding a mesh router or hardwiring an additional router from starlink.com/shop to significantly improve range and speed.
Starlink Mini WiFi Troubleshooting
Run an Advanced Speed Test from the Starlink App (App > Speed test > Advanced Speed Test) both inside and outside of your home. Screenshot the results after each test. If device to router speeds are lower than router to internet speeds, proceed with the following steps to improve WiFi performance.
Make sure your Mini is centrally located with respect to the most common usage areas in your home. A few things to note:
Split your network band to create separate 2.4 GHz and 5 GHz networks. This can improve compatibility for devices that don't support 5 GHz connections. (Starlink App > Settings > Click Network Name > Toggle on Split 2.4/5 GHz networks)
If speed is much worse inside or your home's construction and/or size is suspected to be the root cause, consider hardwiring a router or adding an additional router(s) to your network, available on starlink.com/shop.
Using Mesh or Third-Party Router:
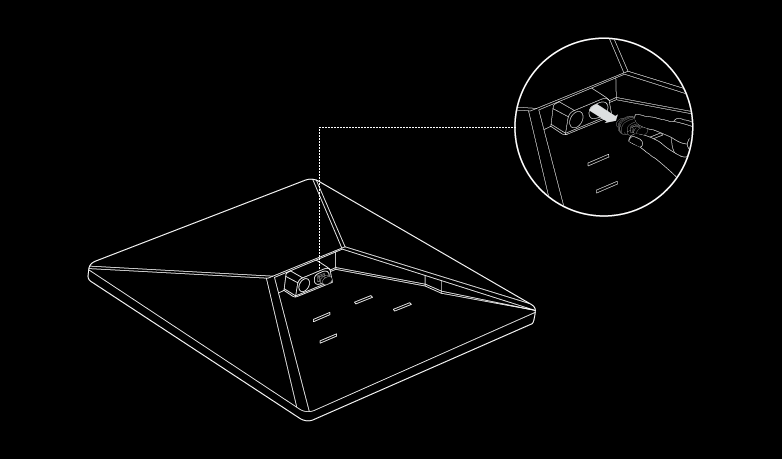
If you want to set up a mesh system with a Starlink router, you can hardwire a router via an ethernet cable into the RJ45 port or create a wireless mesh network. You can also use your own router via the RJ45 port in bypass mode.
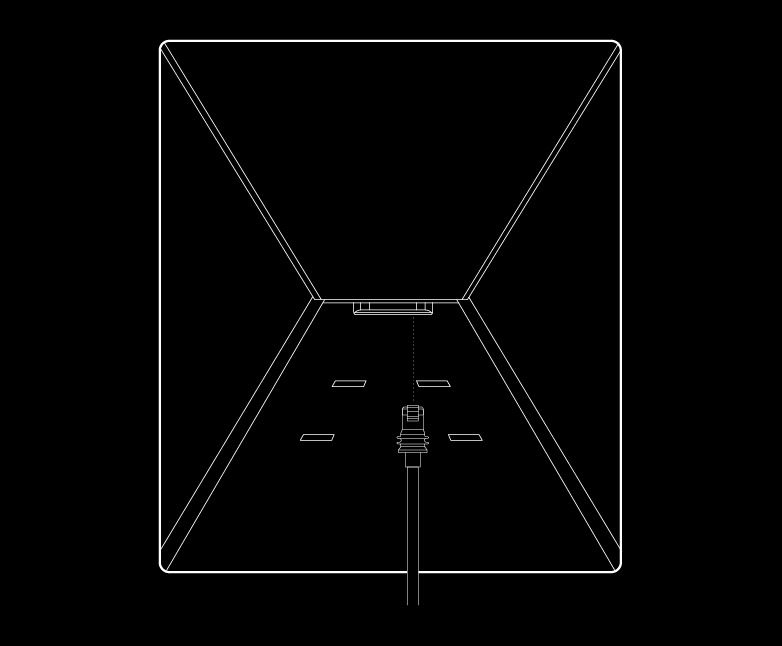
To hardwire a router to your Mini:

Note: Use the Mini Starlink Cable available on starlink.com/shop to protect your dish against water ingress. The Mini is no longer IP67 rated waterproof with a third-party RJ45 cable.

To wirelessly mesh a Starlink Gen 2 or Gen 3 router to your Mini, please refer to How do I setup Starlink Mesh? for more information.
Can't Get Online?
Open the Starlink App to check for any alerts, outages, or obstructions.
Check the status light on the back of your Starlink.
Slow Blinking: Powered on.
No Light: No power to Starlink.
Fast Blinking: LED will blink quickly for 3 seconds while holding down the reset button, then LED will turn off as your Starlink reboots.

Make sure everything is securely and fully plugged in and there is no damage to hardware or cables.
Power cycle your Starlink by unplugging from power and then plugging back in.
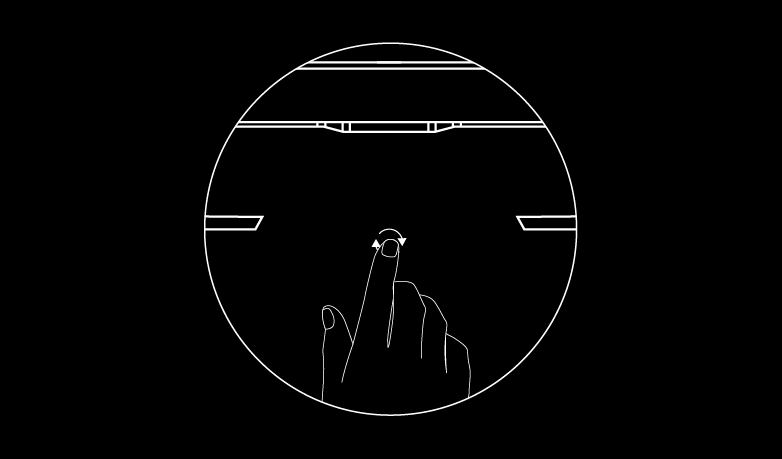
Factory reset the Starlink by locating the reset icon on the back. Press down firmly until you hear or feel a click and hold for 3 seconds. The LED will blink quickly and shutoff when complete. Step through the install process to set up your Mini and get online.
Note: Your network name and password will be reset after completing factory reset. Look for 'Starlink' network during setup and configure your network to your preferred network name and password.

If you are a residential US or Canada customer and you're unable to get online or are suddenly offline, you can call 1-866-606-5103 in the US or 1-888-864-1321 in Canada for phone support. This service is currently in a trial phase and is only for Starlink customers in the U.S. and Canada who are dealing with connection issues. For other concerns, please submit a Starlink ticket. The phone line is open Monday to Friday, 6:00 AM to 6:00 PM Central Time.
Can't find what you're looking for? Contact Support.