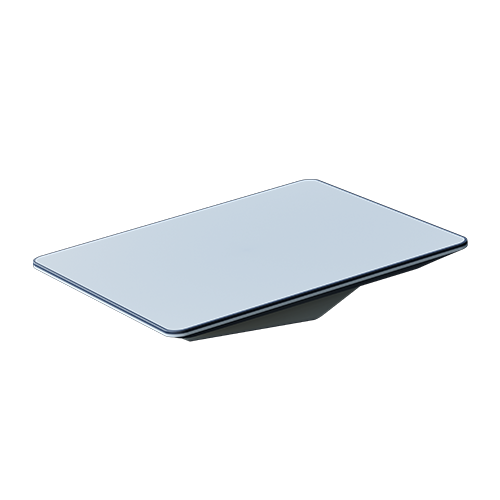
يعتمد تركيب مجموعة Performance Starlink المسطحة على احتياجاتك في التركيب، وقد يتطلب منك التخطيط مسبقًا.
أدوات مفيدة
ما الذي تتضمنه مجموعة Starlink؟
عناصر أخرى (غير مضمّنة):
خيارات تركيب حامل التثبيت
توجد طرق متنوعة يمكن اتباعها عند تركيب حامل التثبيت لمجموعة Performance Starlink (الجيل الثاني). نوصي بقراءة كل الخيارات بالتفصيل، موجودة في دليل الإعداد (PDF) للعثور على الخيار الأنسب.
الخيار 1: براغي وصواميل ماكينة - للأسطح ذات الوصول الخلفي
الخيار 2: مسامير ملولبة - للخشب والخشب الرقائقي
الخيار 3: صواميل مغلقة وبراغي ماكينة - للأسطح المركبة
بمجرد الانتهاء من تركيب حامل التثبيت باتباع أحد الخيارات المذكورة أعلاه، مرّر الكبل.
تمرير الكبل إذا كنت ترغب في تمرير الكبل عبر سطح خارجي باستخدام طقم مرور الكبلات المرفق، فافتح دليل الإعداد المدرج تحت "أدوات مفيدة". أو مرّر الكبل إلى الداخل، ثم قم بتركيب جهاز Starlink. ملاحظة: طول كبل Starlink المرفق هو 25 مترًا (82 قدمًا).
تركيب Starlink
ضع جهاز Starlink ووجهه نحو الأسفل على سطح نظيف خالٍ من المخلفات. ضع مسامير البراغي بكتف في مثبت البراغي، وركبها في الفتحات الملولبة بالقرب من منفذ الكبل. استخدم مفتاحًا سداسيًا مقاس 1/8 بوصة لربط المسامير السداسية بإحكام.
اجعل مسامير البراغي بكتف بمحاذاة المجرى الموجود أسفل الحامل. اضغط لأسفل ومرّر Starlink للأمام لتثبيته في مكانه.
ضع أسنان براغي الماكينة التي بطول 1/2 بوصة في مثبّت البراغي وركبّها في الفتحتين المتبقيتين مع حلقتين لتأمين حركة Starlink. استخدم مفتاح سداسي 3/16 بوصة لربط البراغي حتى تصبح محكمة ثم لفها 1/4 دورة إضافية؛ لا تفرط في الربط. تأكد من استخدام براغي مقاس 1/2 بوصة (يمكن أن يؤدي استخدام براغي أطول إلى تلف Starlink).
قم بتوصيل كبل Starlink بالمنفذ الموجود أسفل جهاز Starlink. تجنّب لفّ الكبل بحدة، واستخدم حدًا أدنى لقطر الانحناء 50 مم (2 بوصة).
انتهيت الآن من تركيب مجموعة Starlink Performance (الجيل الثاني) وأصبحت جاهزة للاتصال.
الموضوعات الموصى بها:
كيف يمكنني إعداد جهاز Starlink؟
لا يمكنني الاتصال بالإنترنت في أثناء الإعداد الأولي.
ألا يمكنك العثور على ما تبحث عنه؟ تواصل مع فريق الدعم